Scrapbook pages are a fun and easy way to display your Disney photos and mementos! You can put the page in a scrapbook album, or you can frame it. Follow along to make your own!
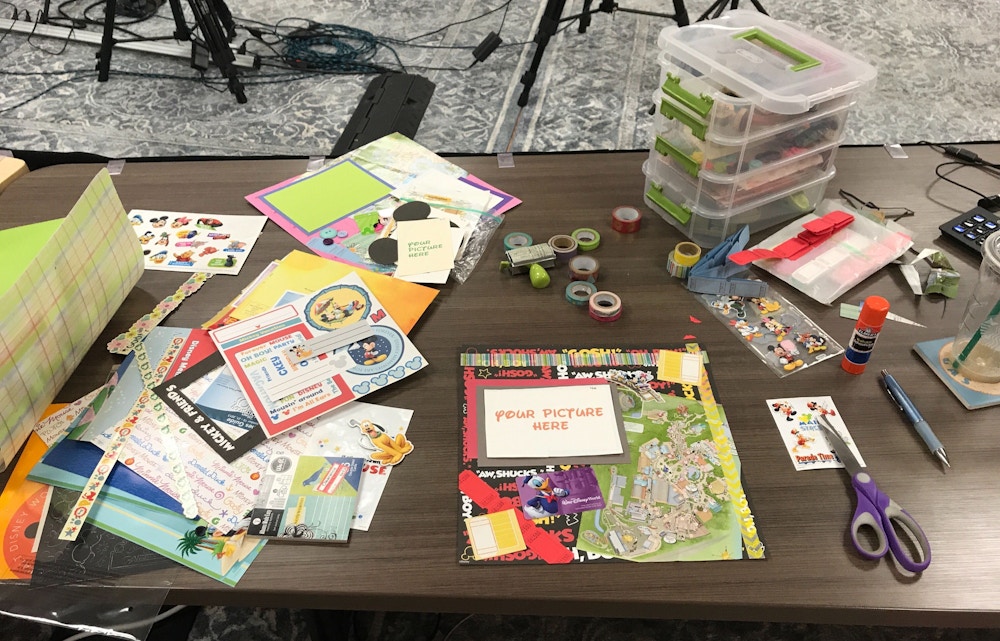
Supplies
- 12×12 or 8×10 or 8×8 piece of paper
- Colored paper
- Disney paraphernalia, like maps, tickets, festival passports, postcards, etc.
- Glue Stick
- Scissors
- Decorations like stickers, washi tape, stamps, stencils, etc.
- Photos!

Step 1: Glue Down Big Pieces
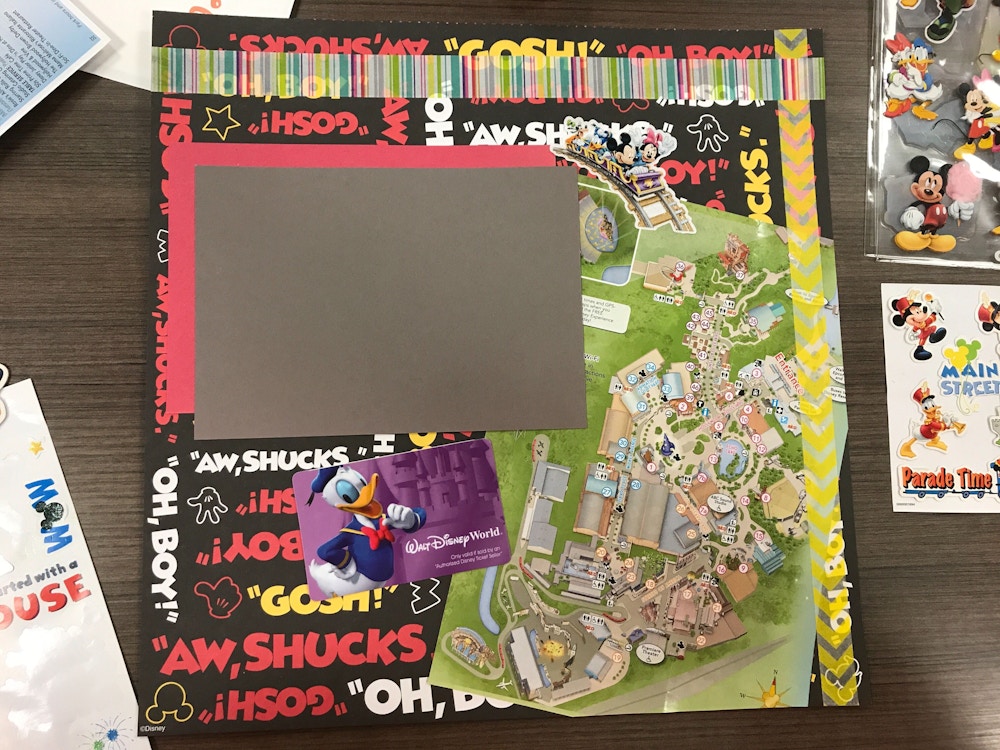
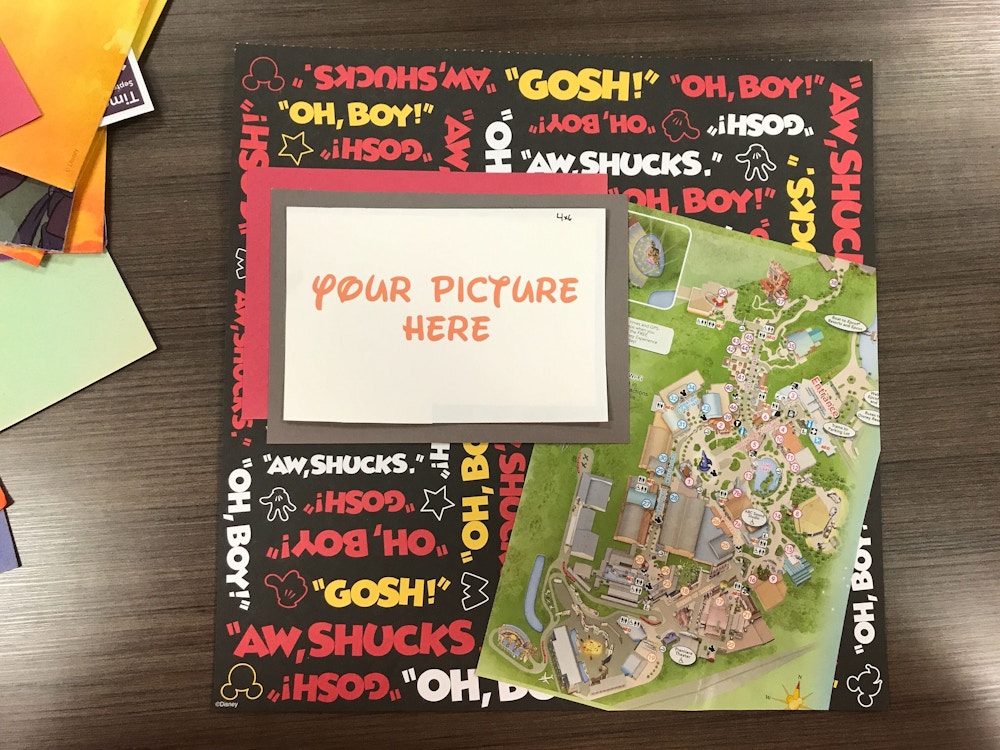
I like to use maps as part of the background of my page. So I cut out the map and glued it down. You can use any of your paper paraphernalia.

Step 2: Back Your Pictures
I cut a colored piece of paper to be slightly bigger than my photo, this makes the photo stand out. After I cut out the rectangle I glue it down and glue my photo on top of it. You can also create a double mat with two different colors or place your photo at an angle to create a different look.

Step 3: Decorate!
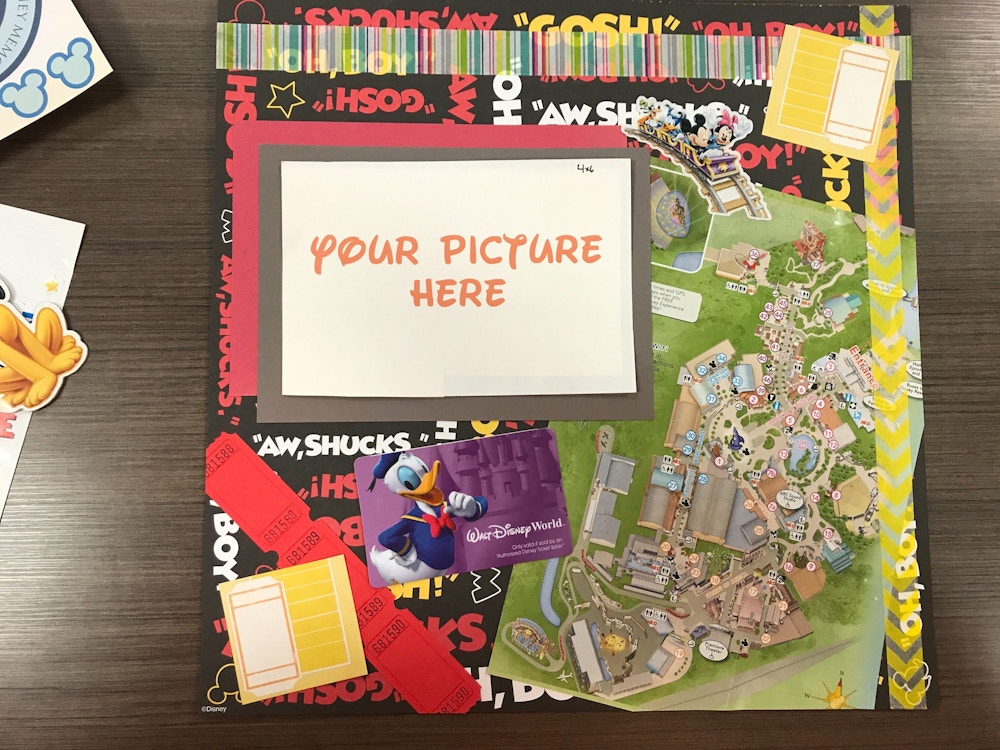
I added an old ticket to my page, next I used washi tape to create a border, then I added stickers and some carnival tickets.
Step 4: Label Memories
Add a memo spot. I added a pre-made card that is lined for you to write on, but you can make you own or skip it and write directly on the page! Write about your trip, and I always like to include the date.
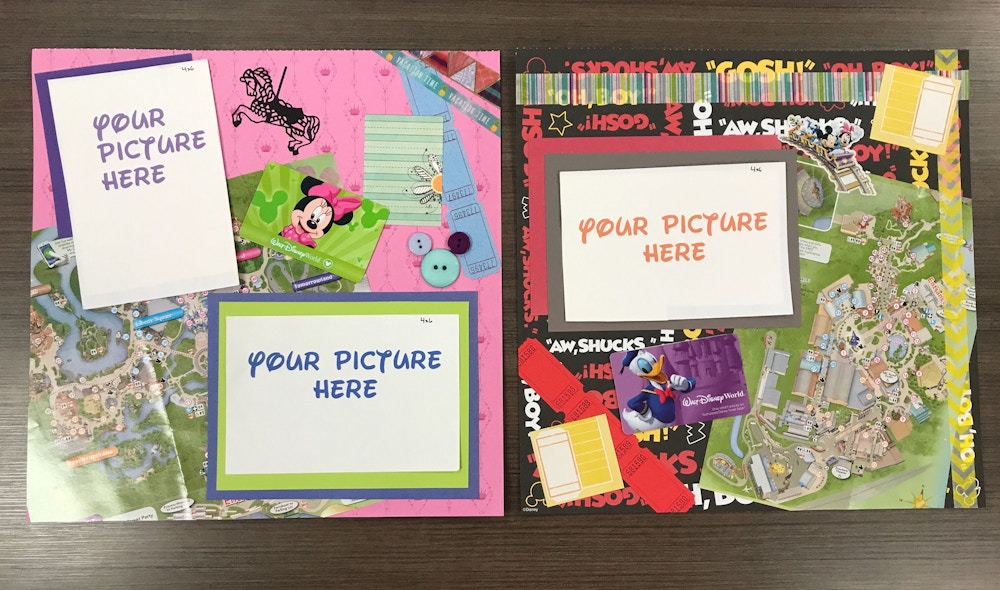
Ta-da! Now you have a unique display of Disney memories. You can always do things differently than I did, the only limit is your imagination!
Video Tutorial
In need of additional visual guides? You can watch the full tutorial video below and follow step-by step on YouTube:
If you want to do more crafting, you can check out the tutorial for DIY Mouse Ears.


Just an FYI when scrapbooking don’t use construction paper as it isn’t photo safe.